
I hope you are all well. There are no words to thank you for all your support and kindness last post. Thank you all from the bottom of my heart! I still feel exhausted, but I am getting better and the family is healing. Thank you all so, so much. I really appreciate it and hope I can return the favor one day. Luckily I had your blogs and my manor to take my mind off of things ...thank goodness for miniatures and wonderful people! So without further ado, here is the renovated Music Room:
 |
| New music room, or Ballroom |
 |
| Old Music Room |
The first step was redoing the floor. I pulled out the old one and created a design inspired by the ballroom in the Peterhof Palace.
 |
| Ballroom Floor installed |
The hardest and most time consuming part was the medallion design. I drew out the design on graph paper and made a lot of photocopies. First I cut out each piece of paper, then used it to cut each individual piece on the iron on wood strips. I only use the paper template pieces once because each cut can change the piece and this will make it difficult for the pattern to match up. It took me about 8 hours to make each medallion because every piece had to be adjusted just a little.
 |
| Large Medallion |
 |
| "D"ewell Medallion |

 |
| Finished Floor |

After I primed and painted the illustration board pieces, I cut out the squares for the paneling. I took thin cardboard and painted it blue (I used Victorian Blue by Americana Paints. I painted both sides of the cardboard so it would not buckle. When dry I glued it to the illustration board and I painted the peacocks with Gold paint from Delta Ceramcoat. The bodies of the peacocks were made with a toothpick and I just stamped on the gold dots. I used a 15\0 paint brush for the rest. First I painted the wings, then I painted long lines for the tail, and finally I filled the space between the tail lines to look like feathers. I basically looked and pictures of the Peacock Room and tried to mimic the design. If that is not clear let me know and I will explain with pictures in my next post.

Above are all the wall section for the music room. I made sure the peacocks were not too big because I added a trim molding in the panels that I painted gold before installation. I also painted the baseboards for the room.

Here was a test to see the baseboards and chair rail on the panels. I loved it! The music room turned into a small ballroom ;)

I was happy I had an extra column leftover because it would of been very difficult to cut around the column base without it.
 |
| Ballroom peacock panels installed |
And here is the installed wainscot. I think it really made the room grand

Because it would of been very hard to cut illustration board around the gorgeous Sue Cook fireplace, I simply painted the wallpaper around it. The last update was the corner columns. I had 3 columns with caryatides in the center of the room and left the 4 columns in the corners simple because I planned to but busts of artist on top. With the new grander design of the room it looked wrong so I made more caryatides from Super Sculpy. I am not a great carver by any means and I only had needles and old nails as tools, but they give the illusion I was looking for and was happy with the effect: They Were marbled using light gray as a base coat, 2 coats of sponged on off white, one coat of sponged on white, and veined using light grey.
 |
| caryatides |
 |
| Curtains back, front and veil |
Above you can see the illustration board backing on the left, the front of the drapes in the center, and the pleated veil on the right. The top of the drapes was made by stretching the silk fabric over illustration board cut out to the shape I wanted
 |
| Curtain construction |
The details above show you the steps for making curtain details: illustration board cut out, covered front, the back where you can see where the edges were glued, next you see the trim detail I used glued on the back, and the finished piece. I used Carpenters Pick Ultimate glue and gel super glue to made the draped. And here are the installed drapes.

I can confirm I do not love making window treatments. I think the rest of the Manor curtains just got simpler. And finally, filling the room with furniture...
 |
| Finished Ballroom, missing a few chairs |
I hooked up the Versailles chandeliers from the Getzans just for the pictures. I will install them permanently once all the house sections ares finished and will not need to be moved
 |
| Ballroom South wall |
I also put in less furniture. I wanted it to feel more like a ballroom .
 |
| Ballroom North wall |
You might notice a gap between the wall and the ogee at the top of the room. I want to hang art from chains and the chains will be attached behind the ogee. I also plan on purchasing 2 or 4 more chairs that match the furniture to go around the room. And that is another complete room. I hope it was worth the wait! And here is what is next on my list: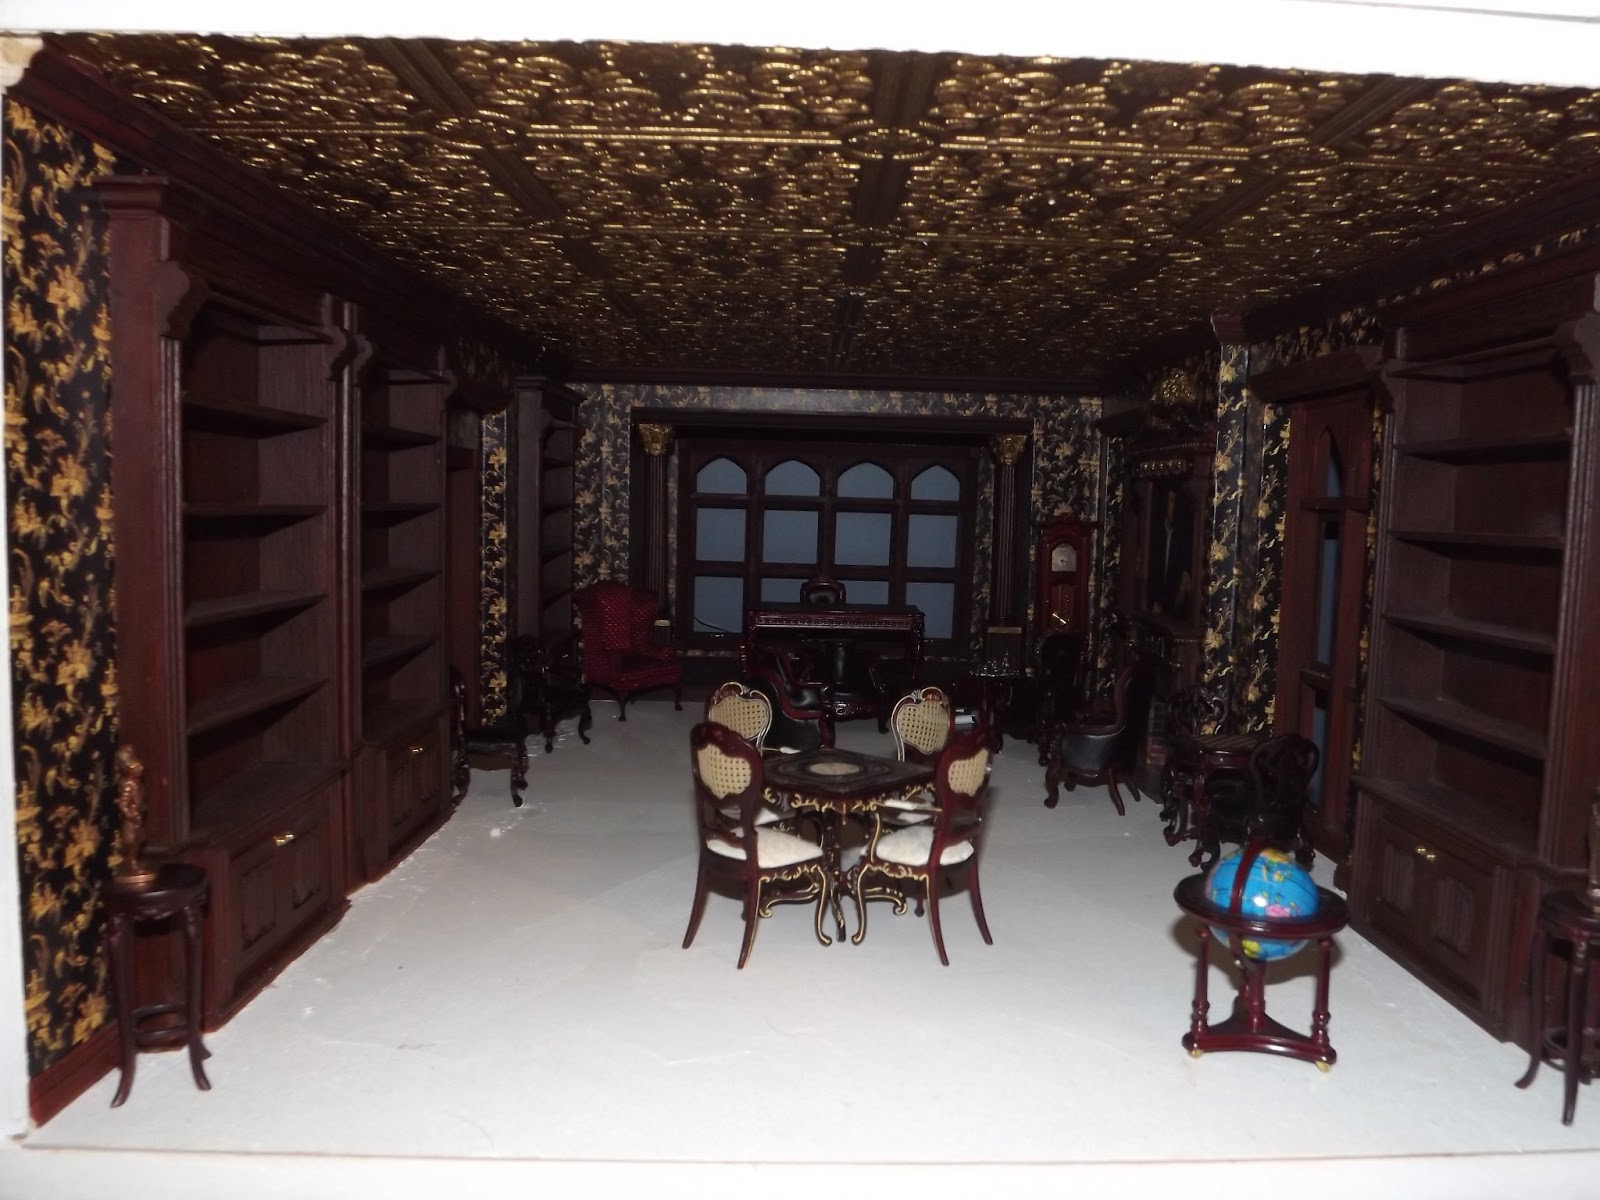 |
| Library in need of floor and wainscot |
You may remember a while ago that the red velvet carpet I put down in the Library came up. I will be making another wood floor with black detailing in it and I want to add mahogany wainscot around the room
 |
| Art Gallery |
Here is the art gallery. At the back of the room is the grand staircase foyer. Above the foyer is the only wasted space in the Manor so I am thinking of adding a dome over it. Either I will add a glass dome like in Buckingham palace with lights behind it or a dome with a painting of a Hell Mouth like in Burley House. Both options would have a chandeliers hanging from the center.

 |
| Bedroom hall, future second Library |
Last week was my birthday which means I got more minis and ate way too much cheesecake. My family knows what I want most is to finish buying the chandeliers for the Manor. Jo got both families together and once again I was spoiled with 2 beautiful Getzan fixtures...did I mention how much I LOVE Getzan fixtures:
 |
| Getzan chandeliers: sonata and Carlton |
The Sonata on the left is for the Entrance of the Manor and the Carlton on the Right is for the Art Gallery. In April I attended the Montreal Miniature Show and purchased some wonderful items:
 |
| Silver by Greg Matusovsky. The picture does not do his incredible work justice |
 |
| Silver Tea Caddy, mushroom basket and berry basket were purchased from Martha Mclean |
 |
| The perfume bottle, jewelry stand and fantastic punch bowl are from Julie Dewar at http://westwindsminiatures.com/shop/, she made my incredible Imperial Blossom dish set for the Chinese Tea Room |
Before the show Julie and Martha were able to come and pay me a visit. It was wonderful to have them over and I had a really great time. The picture below is of the beautiful presents they brought me and the wonderful painting in the back is a giveaway prize from Liduina at Miniature House. Once again my pictures do not do these wonderful miniatures justice! The painting is going in the Music Room!

And that my friends is all for this time. I apologize for such a long post. It has been a while and I promise I will try not to wait so long for the next one. I like to post when a room is finished, but my rooms are becoming just a bit more detailed then they used to be so thank you for your patience.
Once again, I cannot thank you all enough for following my blog and for all the wonderful and caring comments you always leave me. I am always touched by your kindness my friends. I wish you all the best for the weeks to come and send you all a great big bear hug! My followers are the best!
Love
Giac