Dollhouse Blogs

Saturday 11 June 2011

Grand Staircase

I had a very specific idea about how I wanted the staircase to look. In order to assemble it and be able to paint in comfortably, I glued the bottom floor, back wall and side wall first, assembled the bottom half of the staircase, finished the the other walls and ceiling, then finished the second half of the staircase.

I started by cutting about 30 pieces of 1/2 inch Mdf  4" wide by 1" deep. I then had a dry run to make sure I liked the look of the staircase

When I was satisfied I glued everything down using carpenter's glue and a spacer I cut out of Mdf to make sure the depth of each step was identical. Once the lower half of the steps were solid, I added molding to create the nosing on each step.

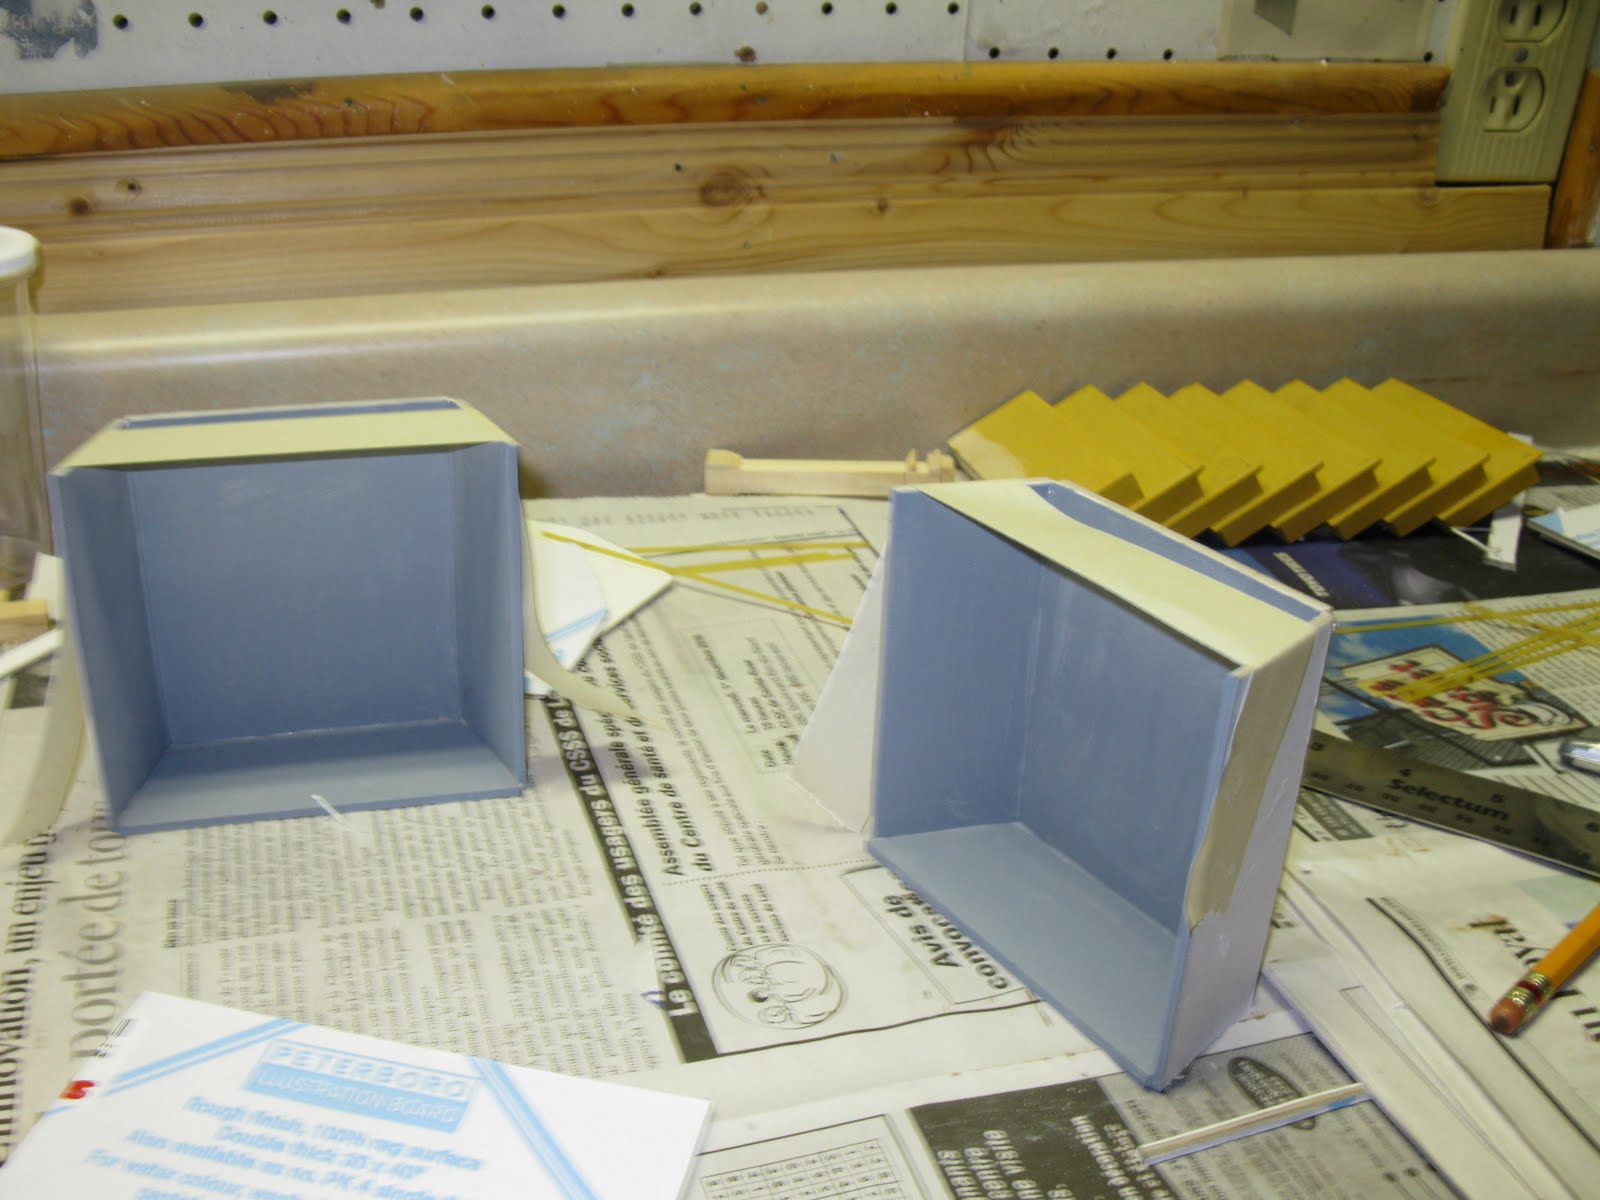
Next, I glued the corner posts in place, added the banister, then glued 2 balusters on each step using a little carpenters glue and a drop of gel super glue. I used primed double thick posterboard to create the wall sections under the steps. When dry I painted the whole staircase with my antique gold base paint


The next step was faux walnut finishing the first half of the staircase. Again, I used oil paints mixed with liquin. A week later, just to make sure the oil paint was completely dry, I added basewood strips I had allready faux finished using Crafter's Pick "The Ultimate" glue. This is a rather thick glue which is easy to use and dries clear. I apply the glue to the back of each strip, but also add a drop of gel super glue at each end and in the center. The super glue keeps the pieces in place while the other glue sets.


Next, I finished assembling the dollhouse wall sections, glued on the last section of the staircase, corner posts, banisters and balusters, faux finished and added the remaining wood strips for the panneling. The effect is exactly what I had hoped for..and only took about 45 hours of work.


Carved Fireplace

When the shell was complete, I decided to tackle the fireplaces for the great room. I wanted the Great room to be very Tudor in style. So I drew up plans for arched fireplaces with carved figures.

The base for the fireplace is a piece of Mdf  7" wide by 14"high (the main floor is 14 inches high and the 2nd floor is 11 1/2 inches high) . After I cut out the opening for the fire box, I did some research and played around with basewood molding. I wanted the fireplaces to look very massive and imposing.

I never sculpted before in my life, but I figured I'd give it a go. I've always liked the myth of the Three graces. I purchased some air-dry clay and sculpted figures using sewing needles and a few carving tools and jeweler's screw drivers. I let them dry for a week and attached them to the MDF base using gel Super Glue. I then cut out a fireplace surround in double thick poster board but didn't glue it into place.

I then covered both fireplaces (I made 2 which will face each other in the Great Room) with acrylic gesso. Gesso is a thick primer which gives a great base for painting and fills in many small cracks and imperfections.

When the gesso was dry, it was time to faux-finish the fireplaces to look like walnut. I used a technique by Ray Whitledge and Scott Burgess I read about in a miniature magazine. I applied a coat of Delta Ceramcoat ( I used Antique Gold color) and let it dry 1 hour. I then used oil paints mixed with liquine and an old paint brush to create the wood grain.

The last step was to make the fireplace surrounds look like marble. I used a thin basewood molding strip to add some detail to the posterboard. Next, Icovered the 2 sides of the piece with 2 coats of acrylic qesso. I then used Delta Ceramcoat water based paints (2 shades of gray, black and white) and a sea sponge to texture the surface, making sure each color dried before the next was applied. I used a toothpick to create vains and when all was dry I put on 3 coats of spray gloss. Finally, I rubbed the surface with 0000 steel whool to tone down the glossy shine and it was ready.

The picture is before the steel whool rubbing.


For the firebox, I used double thick posterboard and some glue to make the box. I then covered it in gesso, painted it in gray (color of the mortar) and applied the magic brick system to create bricks.

Basically you apply a tape with the bricks cut out, then moisten the red powder included to the consistency of frosting, then apply it over the firebox, remove the tape after 5 minutes and let it dry. I finished it with some black paint to make the fireplace look used. Here it is in the room.

Whitledge-Burgess, The Little Dollhouse Company, Mulvany and Rogers

I wanted to take a moment and talk about the people who helped me with this project, my teachers and friends. I live in an area where the dollhouse hobby is not very popular, so I go online and purchased a lot of books and magazines. Every person has different techniques and opinions for making miniatures. Here are the 3 which I chose to follow.

For the construction of the dollhouse and most of my purchases, I turn to THE LITTLE DOLLHOUSE COMPANY in Toronto.
 Maria and John have always been good to me. They sell a  booklet called Dollhouse Details Tips and Tricks with step by step instructions and hints on construction, wallpapering, trim....that I have consulted and followed carefully. I have called them often with questions. John is always helpfull with construction and Maria always goes out of her way to get anything I need. Their friendship has been wonderful.


For interior finishing techniques, I could not have done much of anything without the help of Ray Whitledge and Scott Burgess of WHITLEDGE-BURGESS

In 2006 they wrote a magnificent 4 part article in Miniature Collector magazine on how to build a Panneled Library. Their step by step instruction on faux-finishing, applying moldings, which materials to use and many other techniques proved to be the most important I have learned and I think every miniaturist could benefit from their knowledge. I have contacted them with questions several times and they were always so kind, helpful and willing to share what they know with me.

My favorite miniature book is Magnificent Miniatures from MULVANY AND ROGERS.
 The book has great pictues of the most beautiful miniature reproductions ever built. It is packed with information, techniques and stories that can help anybody build beautiful room. I always carry the book with me and take it out weekly, just to stay inspired and motivated. It is wonderful to look at and gives a lot of  good information.
Links:
http://www.thelittledollhousecompany.com/
http://whitledgeburgess.com/studio/
http://www.mulvanyandrogers.co.uk/

Plans and assembly

The first thing I did was take out all the pieces of furniture I've collected over the years and create rooms that would fit everything. I did a lot of research and made a list of the rooms I wanted. After many variations, the rooms are as follow:

1st floor:
Kitchen                        20" x 24"
Dining Room                16" x 20"
Great Room                 31" x 30"
Entrance and Staircase 12"x 34"
Music Room                20" x 36"

2nd floor:
Dressing Room            20" x 24"
Master Bedroom         16" x 20"
Girl's Bedroom            14" x 17"
Boy's Bedroom           17" x 14"
Bedroom Hall              15" x 31"
Gallery                        12" x 20"
Library                        20" x 36"


The 3d floor dimensions are not finalised yet, but there will be a Nursery, Housekeeper's Room, Bathroom and Sewing room... at least.

The plans were, to put it mildly, overwhelming. I decided to build the structure in 5 sections. Since I wanted to use MDF I knew it would be extremely heavy and I also needed to be able to fit the pieces through doors and my staircase.
I'm lucky enough to have a great father-in-law, Tom, who is always ready to help, encourage and find solutions to my problems. Well, he was patient and listened to all my concerns, and in the end he became the best accomplice I could ask for.

We brought the plans to our hardware store and asked that they cut the pieces in 1/2"Mdf.. By the time I got the pieces, checked them, and had a dry run, I realized they had cut all 87 pieces in 5/8" MDF instead of 1/2". After a mild panic attack, I looked over the plans, did some measuring, and went back to the hardware store. I didn't want to bring back all the pieces, so I had them re-cut about 12 in 1/2 inch Mdf ...the rest I could work around.
 I then drew all the door, window and fireplace openings onto the Mdf and cut them out using a Dremel with a multipurpose cutting guide and  #561 Multipurpose Bits. I made sure I used metal rulers held in place with clamps to get perfect cuts. the dremel worked great!
The final preperation was making channels for wiring. I decided to use the hard wire system. In the past I've used tape wire and it was more trouble then it was worth. I'll discuss wiring later on. I used the dremel with the same multipurpose bit, this time adjusting the cutting guide so the channel would be 1/4" deep. All electric channels go to the back of the house and the power bars will be in a section of the attic


To assemble the shell, I first glued the pieces together using Yellow carpenter's glue. I waited a week and drilled 1/4"holes and added 1 1/4" wood dowels to make sure the structure was solid. The next step was priming the whole structure with Behr Premium Plus Primer and Sealer.

Building from scratch

I've built 3 dollhouses from kits. It was a great way to start and learn. By the third one I felt my work was getting pretty good:


The 3 first kit houses have been given away. I made a list of what would be the perfect miniature project:

-Front opening
-Floor plan must be realistic
-Rooms must be large enough to hold my collection

After a long search for a new kit I realised it might be easier to build one from scratch. I've always loved the charm of old English manor houses. Since my only limit was my imagination I got to work on several house plans. One day I saw a Stephen King mini-series about a haunted house that was absolutely perfect. I started to work on plans and making cardboard models...2 years later, I was finally happy with the plans and ready start work on my dream miniature house:

And here is the final cardboard model built to scale.


It's amazing how a simple little dollhouse wound up measuring 39 inches deep by 100 inches wide and 56 inches high.  I wasen't sure I could tackle such a big project, but I finally decided to go for it. I have a bit of an artistic side, so I made detailed plans, drawings and figured out exactly what I wanted the rooms to look like.


Then, I spent about a week drawing out how the pieces could fit on each sheet of Mdf. I listed each piece and their measurements and had the hardware store cut the 87 pieces out of 6 sheets of Mdf. When I got home and taped the pieces together, the result was even more daunting then the cardboard model:


It's big, but it's exactly what I had envisionned. And then the fun began...

In the beginning

Hello all,
My name is Giac and welcome to my blog. I've been a miniaturist since 1997. In the past I've built 3 dollhouses from kits and have decided to try building one from scratch. The hobby is not very popular in the Montreal area and I thought this blog would be a good way to share my ideas, what I've learned and get help and feedback from others. I started construction on the dollhouse in August of 2010 and am now confident enough to create this blog. I hope you enjoy my work.

Giac